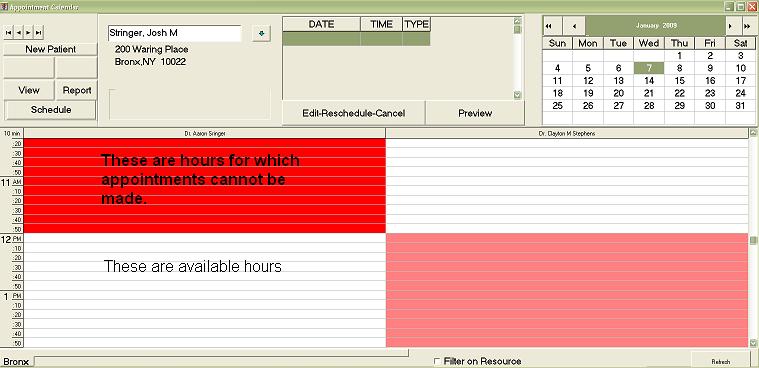
In
QuickPractice, an appointment calendar resource is defined as an individual,
entity or location for which a patient appointment can be scheduled.
Typically, resources take the form of providers, office rooms, or both -- even
within the same practice file.
Whenever you build a new data
file through the new practice wizard, your appointment calendar resources are
automatically created for you. These resources will match the providers names
you indicated during the new practice wizard and will be displayed at the top of
the appointment calendar grid. See the screen shot to the right.
Under Appointment Calendar Lists,
you can also add and remove resources to appear on your appointment calendar.
You will need to edit this list in the event that you add a new provider to your
practice file under Practice Info.
To
add/delete appointment calendar resources, follow the steps
below.
|

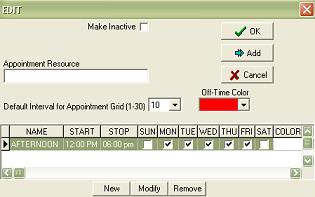
To specify
available resource hours for new/exiting resources, follow the steps
below.
|
Before Editing Resources
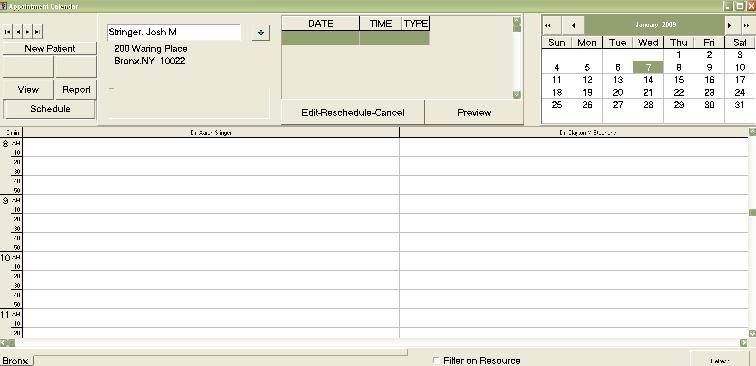 |
After Editing Resources