|
To schedule an appointment for a patient, follow the procedure below.
1. Open the Appointment Calendar by clicking the
QuickLink at the top of your screen.
2. On the right hand side of the screen, select the date for which you want to schedule an appointment.
3. Hover your mouse cursor over an unoccupied area on the appointment grid and double click on the desired time slot.
4. OR select a patient's name from the drop down menu at the top of the calendar screen and then click the Schedule button.
5. The Make Appointment dialogue will appear.
6. Place the dot or radial button next to the Patient label.
7. From the drop down, chose the Appointment Location . To earn about creating new appointment locations, click here.
8. The appointment date will have already been selected and will correlate with the date that was chosen in step 2. You may edit the date if you wish.
9. If you double clicked on the appointment grid to call up the Make Appointment window, the appointment type will match the time slot you clicked on. If you used the Schedule button, you will need to edit the appointment time, as it will default to the time the last appointment was scheduled.
10. Select a Resource to which the appointment will be assigned. To learn about resources and adding new ones, click here.
11. Select the Type of appointment you want to scheduled. To learn about appointment types and creating new ones, click here.
12. From the drop down widow, select a duration for the appointment, or simply type in the desired duration (minutes).
13. If you want to add a reason, complaint or note onto the appointment, type it in to appropriate field. Reasons and notes will not display on the appointment grid, however they will print onto the day and patient appointment summery reports.
14. If you wish this appointment to be a recurring appointment, click the Recurring label and then select the appropriate daily, weekly or monthly recurrences. Then select the number of occurrences, or specify a date by which the occurrences should cease.
15. To finalize the appointment(s), click OK.
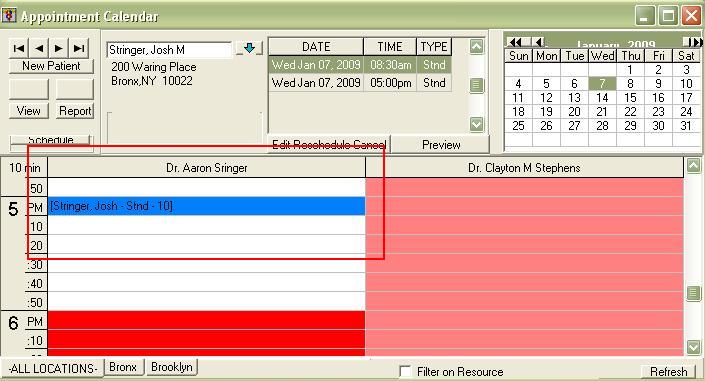
16. You will see the new appointment displayed on the calendar.
Once an appointment is in place, in can be edited, canceled or even deleted.
To edit an existing appointment
1. From the appointment grid, double click on the pending appointment OR select a patient's name from the drop down menu, then from the list to the right of the patient's name, highlight the desired appointment and click the Edit-Reschedule-Cancel button.
2. The Make Appointment screen will appear.
3. To re-schedule the appointment time or make another other changes to the resource, type, location or duration, simply change the information in the corresponding fields, and then click the OK button.
4. If you wish to cancel the appointment, place the dot next to cancel (by patient, practice or other) and click OK. The appointment will still be displayed on the appointment grid, but with a line drawn through the patient's name to indicate a canceled appointment.
5. If the appointment was made in error and you simply wish to delete it, place the dot next to the Delete field and click OK.
Besides scheduling patient appointments, Professional users of QuickPractice can also create office-type appointments. Typically, office appointments are used to schedule office holidays, meetings or other times during which the office might be closed due to special circumstances.
Scheduling an office type appointment requires fewer steps.
1. Open the appointment calendar, and to the right, select the date for which you wish to schedule the office appointment (example: July 5th, December 25th etc).
2. From the appointment gird, hover your mouse cursor over an open area under the resource you wish to schedule the appointment for.
3. The Make Appointment window will appear.
4. Place the dot next to the Office label. The Make Appointment screen should collapse significantly with less information displayed.
5. Specify a location, date, time and resource for the appointment.
6. Unlike patient appointments, you must enter a description for the office-type appointment.
7. From the drop down, specify a length of the office appointment in the field labeled Duration. If you do not see the desired duration, you may type in your own (minutes).
8. To finalize the appointment, click OK.