![]() Custom Forms
Custom Forms
If you are a professional user, you can also customize your own forms to be printed for patients.
Use the guide below as an instruction for creating your own custom forms.
1. From QuickPractice click on the Lists menu.
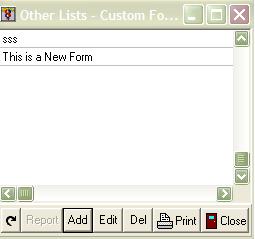
2. Scroll down to Other and then find Custom Forms at the bottom of the menu. The following list appears.
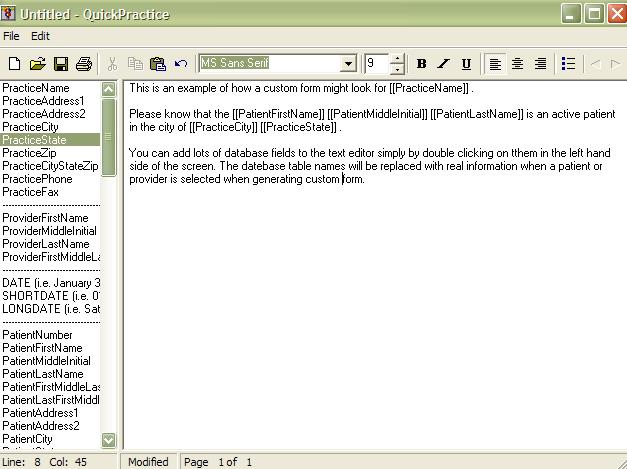
3. Click the Add button and specify a name for the new form. The following screen appears.
4. Once you have the forms editor in front of you, can do several things to create your own form:
- From the left, you can add database fields that will populate information from your practice and patient information screens.
- On the right, you can format a completely original form with the built in text editor. Or, you can copy and paste a previously formatted form into the screen.
- By clicking on the yellow folder icon at the top left hand corner of the form editor, you can browse for previously saved documents to be uploaded into the custom forms editor. Documents must be saved in a Rich Text Format (*.RTF) in order to be imported into the form editor.
5. After you are satisfied with the custom form, click the floppy-disk save icon in the top left hand corner to save the form.
6. To access the newly created custom form, click on the Forms menu and scroll down to Custom Forms. Select the custom form you wish to use from the drop down.